19 May 2023. By William Lewis. Estimated time to spark your curiosity: 8 minutes.

Understanding the Basics: Getting Familiar with Cad Drafting Tools and Terminology
To master the art of digital drafting, it’s essential first to understand the basics. The best place to start is by getting to know the standard CAD drafting tools and terminology. Some common tools you will encounter include lines, arcs, circles, polygons, ellipses, and arrows. Keep in mind that these tools have different variations, which may vary depending on the software you are using. Understanding these tools’ functions and shortcuts can make your drafting process more efficient.
To further enhance your drafting, you need to be familiar with the essential terminology used in CAD drafting. Some terms to know include “blocks,” which are pre-drawn objects used multiple times in a project, “layers,” used to group similar items, and “viewport,” which is a window on the screen displaying a portion of the drawing. Learning these terminologies and their purposes will help you become more fluent with your drafting tools.
If you want to take your skills further, consider exploring more advanced CAD drafting tools, such as spline, textured surfaces, or rendering features. You can find free tutorials online that will help you learn the ins and outs of these tools. Another great resource for learning CAD is Build Your Own CNC Machine. This website provides various tutorials, tips, and tricks, along with step-by-step instructions on how to develop your own customized machines using CAD software.
Conceptualizing and Planning: Preparing Your Work Area, Sketching Ideas, and Organizing Your Project
Before starting any project, you need to plan and prepare your work area. Clear out any unnecessary items that might disrupt your workflow and make sure that you have all the drafting tools necessary for the project. If you’re working remotely, consider setting up your workspace with proper lighting, ventilation, and ergonomics to ensure that you are comfortable while working.
Once you’ve prepared your work area, it’s time to start conceptualizing and sketching out your ideas. Determine what you want to achieve with the project and sketch out potential designs. Use rough sketches first and then move on to more detailed drawings. Keep in mind that these sketches are not final and can be modified as you progress through the project.
Organizing your project is critical to staying on track and ensuring that your progress is on schedule. Consider using a project management tool, spreadsheet, or even a simple to-do list to organize and prioritize your tasks. This way, you can easily keep track of deadlines, milestones, and any necessary revisions along the way.

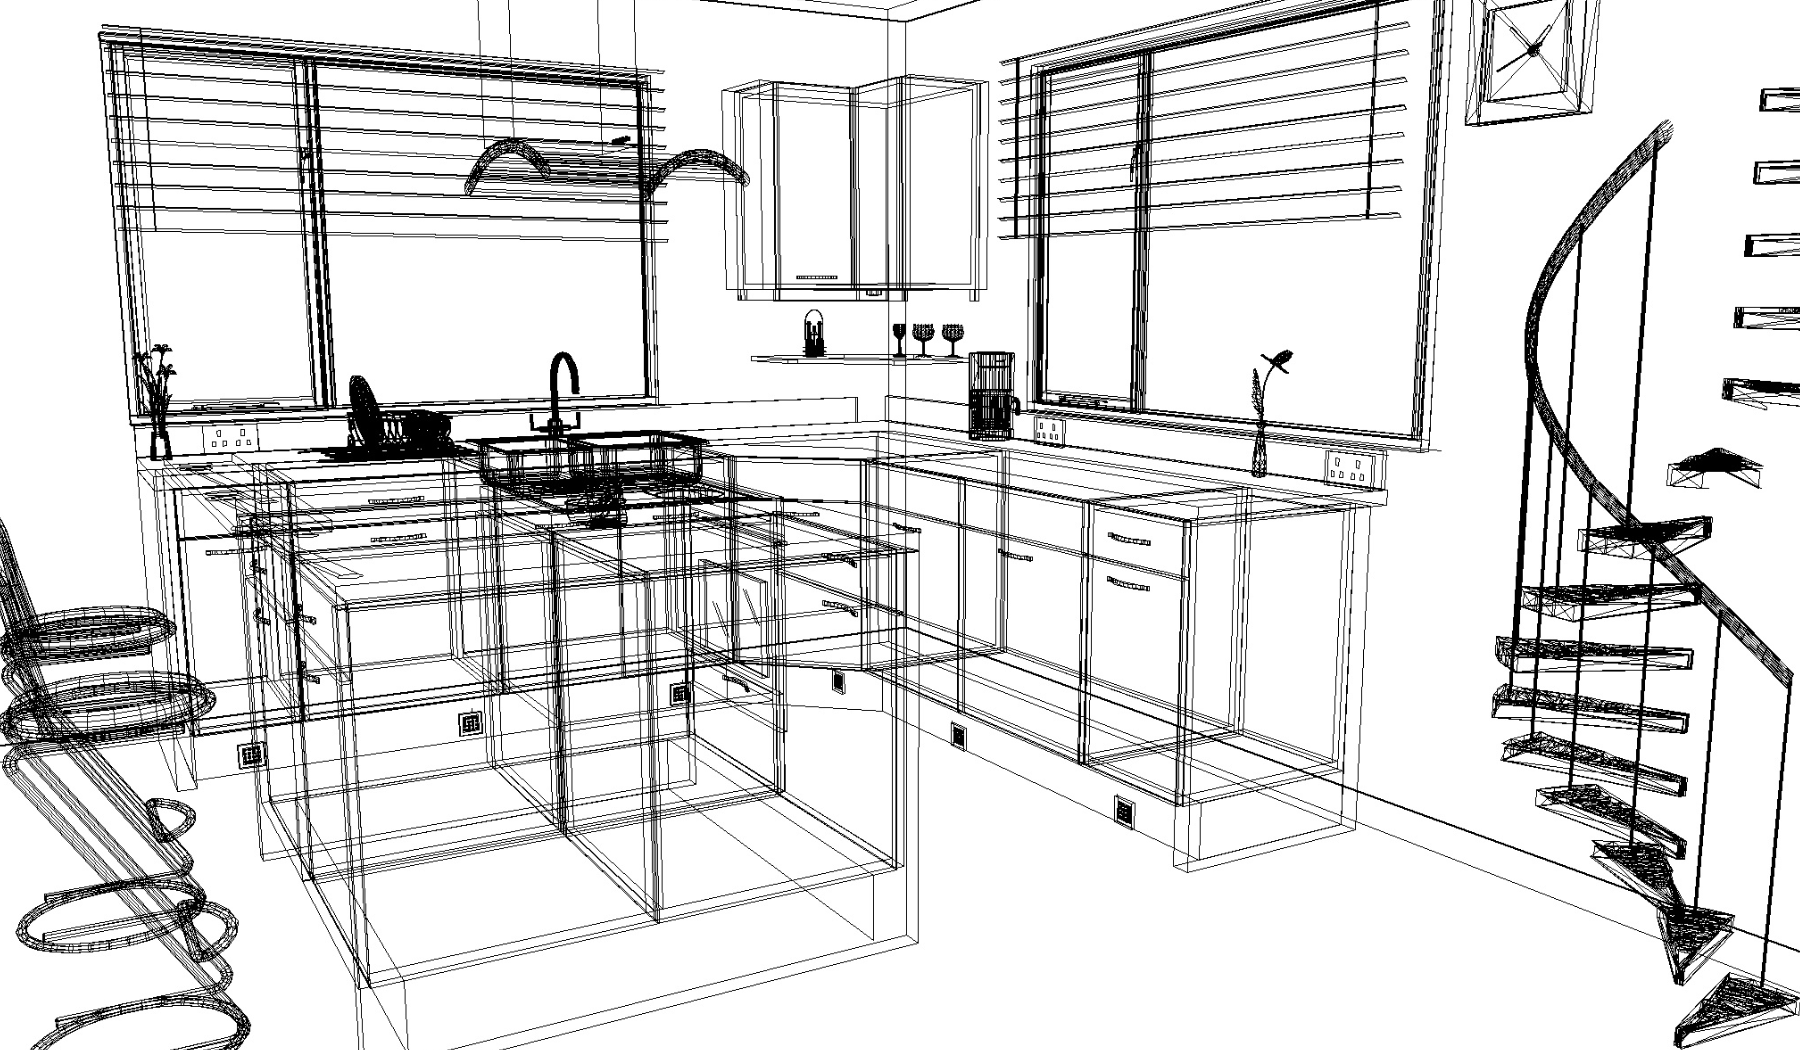
Creating Your Draft: Step-by-step Guide in Using Cad Software to Draft Your Design
Now that you’re familiar with the essential CAD drafting tools and terminology, it’s time to start creating your draft. Begin by opening your preferred CAD software and creating a new document. Remember to set up the drawing scale, units, and plans before moving forward with the design. It’s also essential to establish a style for your drawing by defining line weights, color themes, and even text formatting.
To draft your design, start by drawing the basic shape of your product. You can use the line and arc tools to achieve this. Remember to keep your design within your set boundaries and to maintain proportion as you go along. Once you have a basic shape, you can start editing it with more advanced tools such as fillet or chamfer to round out any edges or corners. Utilize the copy and paste function to save time on repetitive shapes such as bolt holes or screws. Remember that precision is key, so take the time to adjust and refine your creation as you go.
Adding details to your draft is next on your list. This is the point where you can add textures, colors, and layers. Consider adding annotations, dimensions, and callouts to your design to make it easier to understand for others. Layers, in particular, are useful for organizing your design into different parts, making it easy to edit and modify as needed. For more tips on layer management in CAD design, check out this helpful article on CAD Conversion: Do It Yourself Or Outsource?
Adding Details: Enhancing Your Draft with Textures, Colors, and Layers
With the basic form of your design created, it’s time to add details to enhance its visual appeal. One way to achieve this is by adding textures to your drawing. CAD software provides several texture options such as wood, metal, glass, and plastic to select from to give your design a lifelike appeal. You can also import custom textures into the software to match your project’s unique needs.
Color is another way to add detail to your draft. Using CAD software, you can add various colors to different parts of the product to distinguish them from one another. This is beneficial when dealing with large, complicated designs that may involve multiple parts or sections. Adding color also enhances the visual appeal and gives clients and team members a clear understanding of the design.
Finally, layers are instrumental in keeping your design organized and manageable. Consider grouping similar parts together on separate layers, making it easy to edit and to view individual parts without confusion. When utilized correctly, layers can make the design process more efficient and reduce time spent searching through multiple parts of the product. For more tips on layer management in CAD design, check out this helpful article on CAD Conversion: Do It Yourself Or Outsource?
Avoiding Common Mistakes: Tips on Dealing with Technical Issues and Ensuring Accuracy of Your Draft
While drafting using a CAD program, you may come across several technical issues that may be frustrating to deal with. One common issue is that your file size may get too big, making it slow to work on. To prevent this, ensure that you maintain a regular backing up process and refrain from copying and pasting a ton of objects into your design. Another issue that may arise is the loss of files due to system crashes, power outages, or uninstalling software. This can be incredibly frustrating to deal with, but that’s where a good backup and recovery program comes in handy. Ensure that you always have a backup of your work in case of emergencies.
Another common mistake that beginners make is not checking the accuracy of their draft. Ensure that all dimensions are correct, objects are aligned correctly, and everything is consistent. Check your drawings multiple times and consider having someone else look it over for any errors. A good way to ensure that your drafts are accurate is by using CAD blocks. These pre-made objects can be imported into your design, ensuring that they are accurate and consistent with your design. Take time to inspect any discrepancies and confirm that everything aligns with your project before submission.
If you are looking to dive deeper into the world of CAD drafting, check out this CAD Drafter Salary guide that will give you an idea of how much money you can make professionally mastering this art.
Presenting Your Work: Tips on Exporting, Sharing, and Collaborating on Your CAD Drafts
Now that you have created an accurate CAD drawing, it’s time to share your work with others. Although you may know how to make a high-quality drawing, sometimes other people, such as clients, may not know how to view it correctly. One way to prevent this is by exporting your drawings to common file types such as PDF, DWG, or DXF. Ensure that you save the file with the appropriate file name, title block information, and version information. This makes it easier for people to identify and reference your work.
If you are working collaboratively on a project, you may need to share your CAD drawings with others. One option is to use a cloud-based file-sharing service like Dropbox or Google Drive. This way, others can access your work from wherever they are in the world. When sharing files with others, consider using file-naming conventions or version-control systems to keep everything organized and labeled correctly.
Lastly, a good way to present your final CAD drafting work is by using the “Publish” feature on CAD software. This feature allows you to create a set of files that you can share with others. It’s a great way to present your work professionally, and the files will be easily accessible to anyone who needs them. Once you’ve created this file set, ensure that you back it up to prevent any loss of data.