04 August 2023. By Jacob Scott. Estimated time to succeed in your endeavors: 11 minutes.

Understand the Basics of Vectorization and Its Importance in Cad/cnc Design.
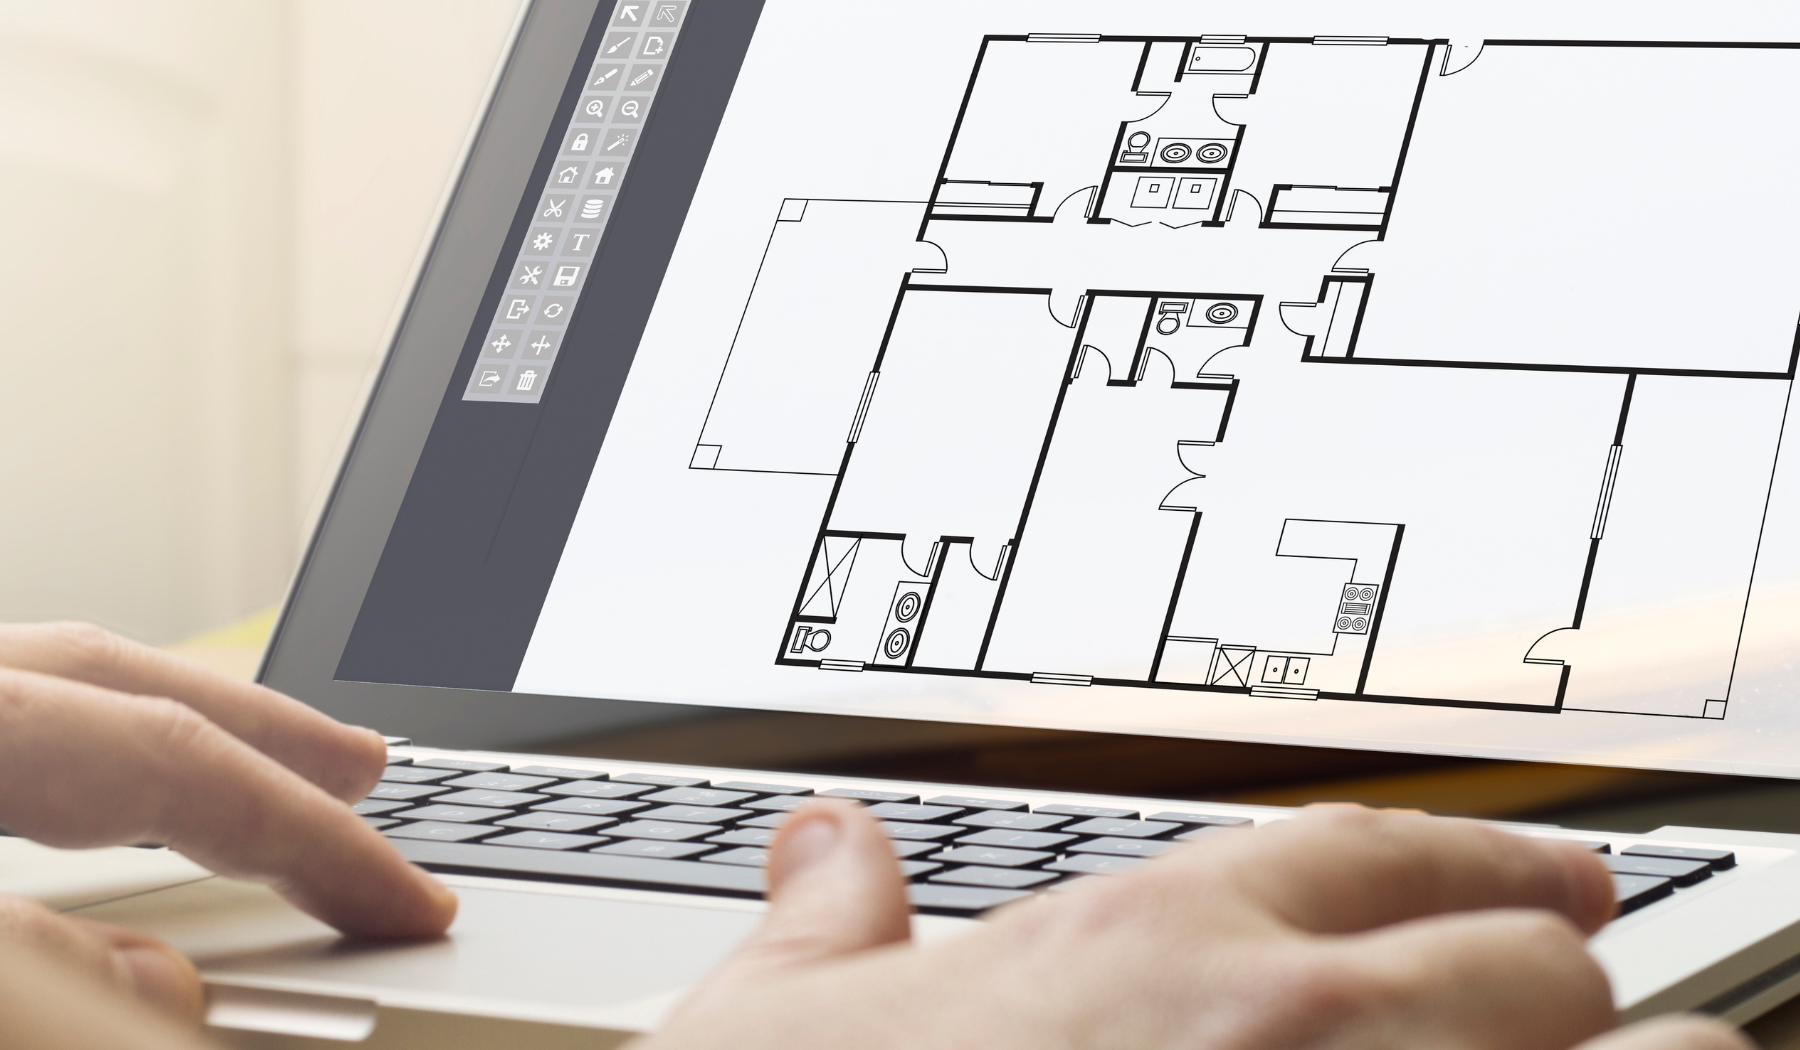
Vectorization is a process of converting a raster image into a vector format that is essential in CAD/CNC design. The advantage of using vector format is their scaleability without losing image quality, which is why it is an essential step in preparing a file for CNC machining. Simply put, the CNC cutting tool works based on vector graphics generated, which means if you have a raster image, you will have to vectorize it before sending it to the CNC machine.
Vector graphics are usually created in dedicated CAD/CNC software or through vector graphics software. Therefore a basic understanding of how vectorization works and its importance for CAD/CNC design is important in avoiding errors and inconsistencies.
For more detailed information about how and when to vectorize an image using CorelDraw, check out Vectorize An Image Using CorelDRAW (And When Not To For CAD/CNC).
Choose the Right File Formats for Vectorization to Avoid Errors and Inconsistencies.
In vectorization, choosing the right file format is essential to avoid errors and inconsistencies in the final product. There are various file formats out there with different advantages and disadvantages. However, the most common file formats used in CAD/CNC design are .svg, .eps, and .dfx.
The .svg file format is increasingly popular because it is lightweight, perfect for web design, and supports transparency. In contrast, .eps format is the industry standard because of its compatibility with multiple platforms, and it is essential to create high-quality graphics for printing. The .dfx file format is also common in CAD/CNC design, translating 2d vector data into a 3d model or CAM program.
It is crucial to note that when choosing a file format, the software should also be a consideration. Different CAD/CNC software has different file format compatibility, and choose the software that can read and write your desired file format.

Learn How to Optimize Vectorization for Different Design Elements, Such as Text, Curves, and Lines.
Vectorizing text, curves, and lines requires a different approach than other design elements. When vectorizing text, it is important to convert it to paths to ensure it retains its original shape, regardless of the application size. Smooth curves are achieved by converting them to Bezier curves, ensuring that the design retains its original properties during the vectorization process.
Vectorizing lines present a unique challenge, and it is essential to optimize the vector points for precision. Do not use too many vector points or too few, ensuring that the resulting vector file is high resolution without excessively large file size. Familiarizing yourself with these optimization techniques will result in an accurate and aesthetically pleasing final product.
If you are interested in learning how to vectorize designs using Illustrator, check out Vectorize Using Illustrator (And When Not To For CAD/CNC) for more in-depth information.
Practices to Avoid When Using Vectorization Tools, Including Overreliance on Automatic Features and Ignoring the Importance of Precision.
Vectorization tools are efficient and time-saving; however, relying solely on the automatic features can produce inconsistent and low-quality designs. The automatic vectorization tools available in design software often omit crucial details or inaccuracies during the vectorization process. Therefore, choosing the right settings and tools is crucial to obtain a high-quality vector file.
Another essential practice is focusing on precision, especially when dealing with small details, in the vectorized design. Small errors can result in significant changes in the final product, which may cause difficulties during the cutting process. Take time to identify problematic areas in the design and ensure that vectorization results in a high-precision design that will deliver the desired results.
For more information on vectorization avoiding common mistakes, check out Mastering Vectorization: How to Avoid Common Mistakes When Vectorizing for CAD/CNC.
Tips for Troubleshooting Common Vectorization Issues, Such as Jagged Edges and Gaps.
When vectorizing an image for use in CAD/CNC design, there are common issues that you may encounter such as jagged edges, gaps, or missing pieces. These issues can cause problems during the modification or production, which is why it’s essential to fix them before continuing with the design process.
To avoid jagged edges, it’s crucial to use high-resolution images and to ensure the vectorization software’s settings are appropriately configured. Using the appropriate software and settings can help reduce jagged edges or lines, resulting in a smoother curve.
Gaps or missing pieces may also occur in the vectorization process, which can result from incorrect color choices or holes in the image. To avoid such issues, double-check the image’s color to ensure that it is suitable for vectorizing and fill any imperfections that may appear.
For more information on troubleshooting vectorization issues, including jagged edges and gaps, check out the Vectorize Using Inkscape (And When Not To For CAD/CNC) guide.
Best Practices for Exporting and Sharing Vectorized Designs for Use in CNC Machines.
After vectorizing a design, the next step is to export, save and share as a vector file format to be used in CAD/CNC design. Although it can be tempting to share your file with teammates or customers in any format convenient for them, it’s essential to be careful to ensure the format does not contradict the CNC machine’s software requirements.
When exporting a file, it is best to use the same software used for drawing the vector graphics to avoid any data loss or distortion in the final product. Additionally, check the CNC machine’s software requirements to ensure the exported file meets the format and quality requirements to prevent any costly production issues.
Before exporting the final file, it’s also essential to weed out duplicates, delete unwanted elements and clean up the elements’ boundaries. Ensuring that the vector file is clean and optimized for CNC production minimizes the CNC machine’s production time and eliminates unnecessary errors.
To learn more about best practices for exporting and sharing vectorized designs, check out the Vectorize Using Inkscape (And When Not To For CAD/CNC) guide.