


14 June 2023. Authored by Jackson Rivera. Estimated time to improve your skills: 11 minutes.

Understanding Vector Graphics
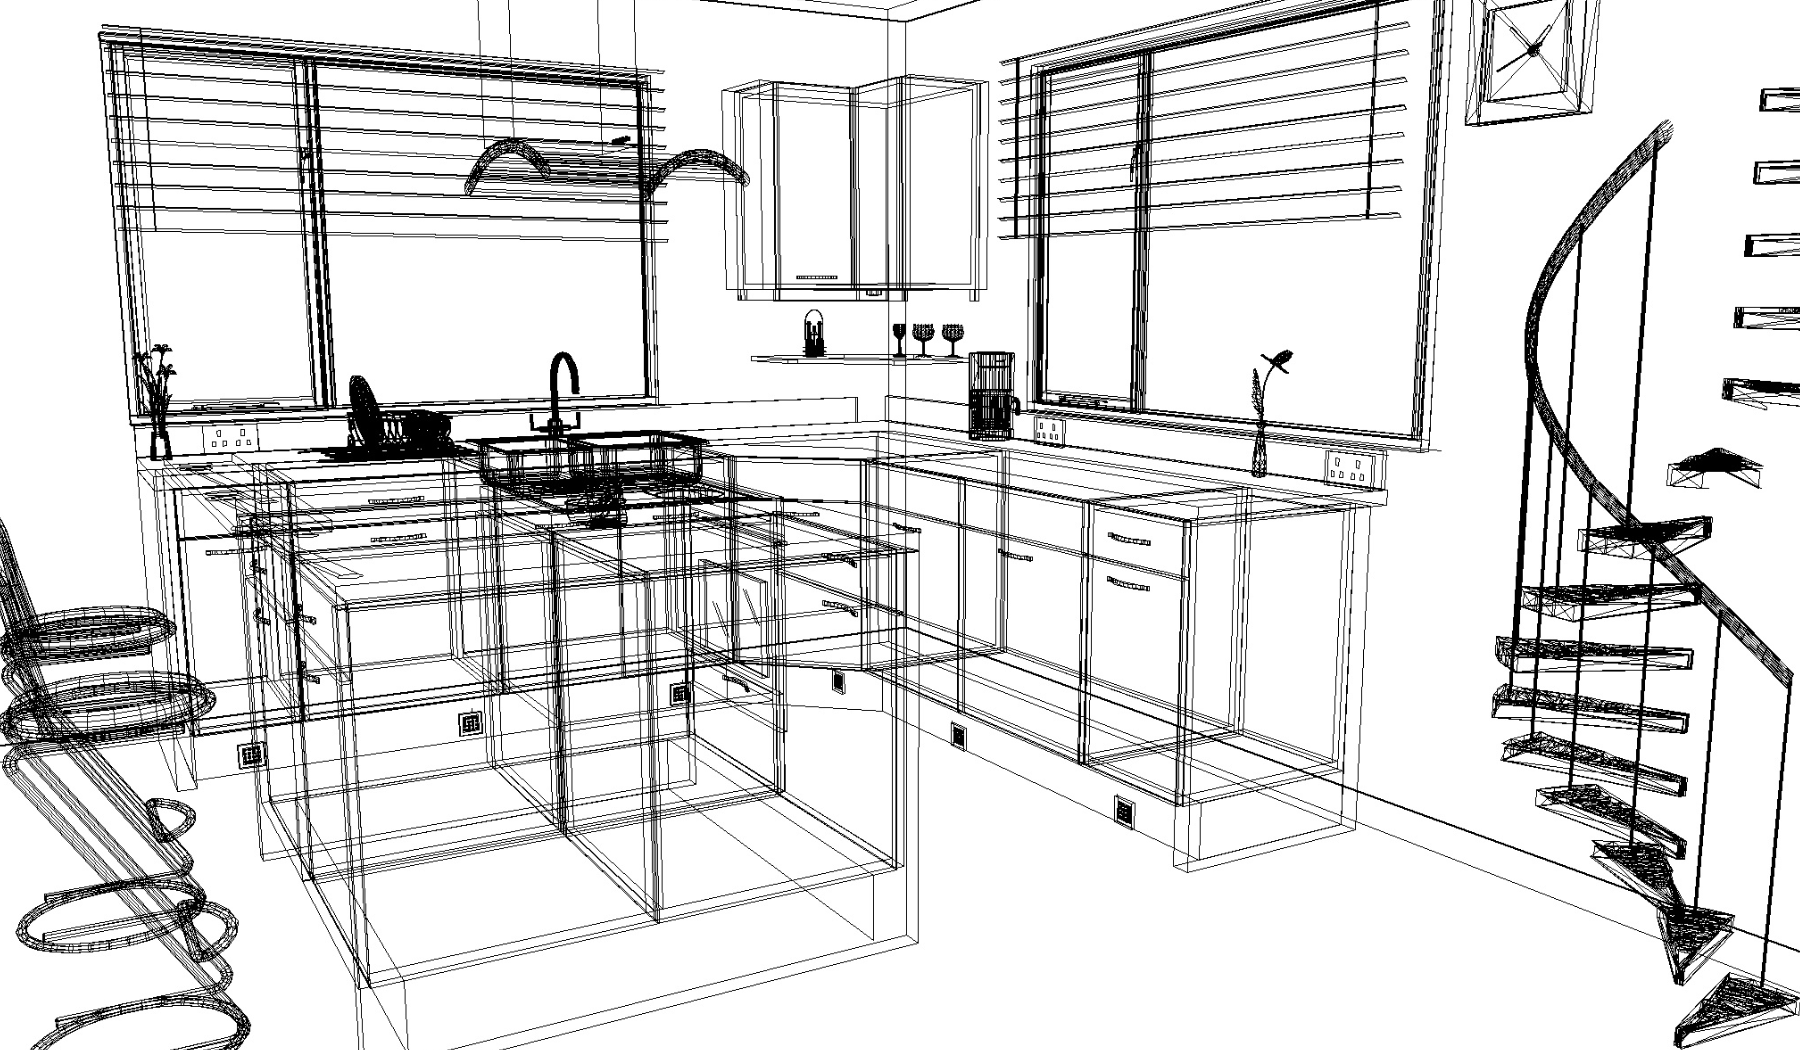
Vector graphics are digital images created using mathematical equations. They are different from raster graphics, which are made up of pixels, in that they do not lose quality when resized or scaled. This makes vector graphics ideal for designs that need to be precise, such as in CNC production.
To create vector graphics, you can use software such as Adobe Illustrator or CorelDRAW. These programs allow you to draw shapes, curves, and lines, then manipulate them using various tools. You can also import bitmap images and trace them to create vector graphics. This ability to convert bitmap images to vector format is useful when working with logos or other artwork that needs to be scaled up for large format printing or CNC machining.
Importance of Choosing the Right Design Software
Choosing the right design software is important when creating vector graphics, especially for CNC production. Not all design software can export files suitable for CNC machines.
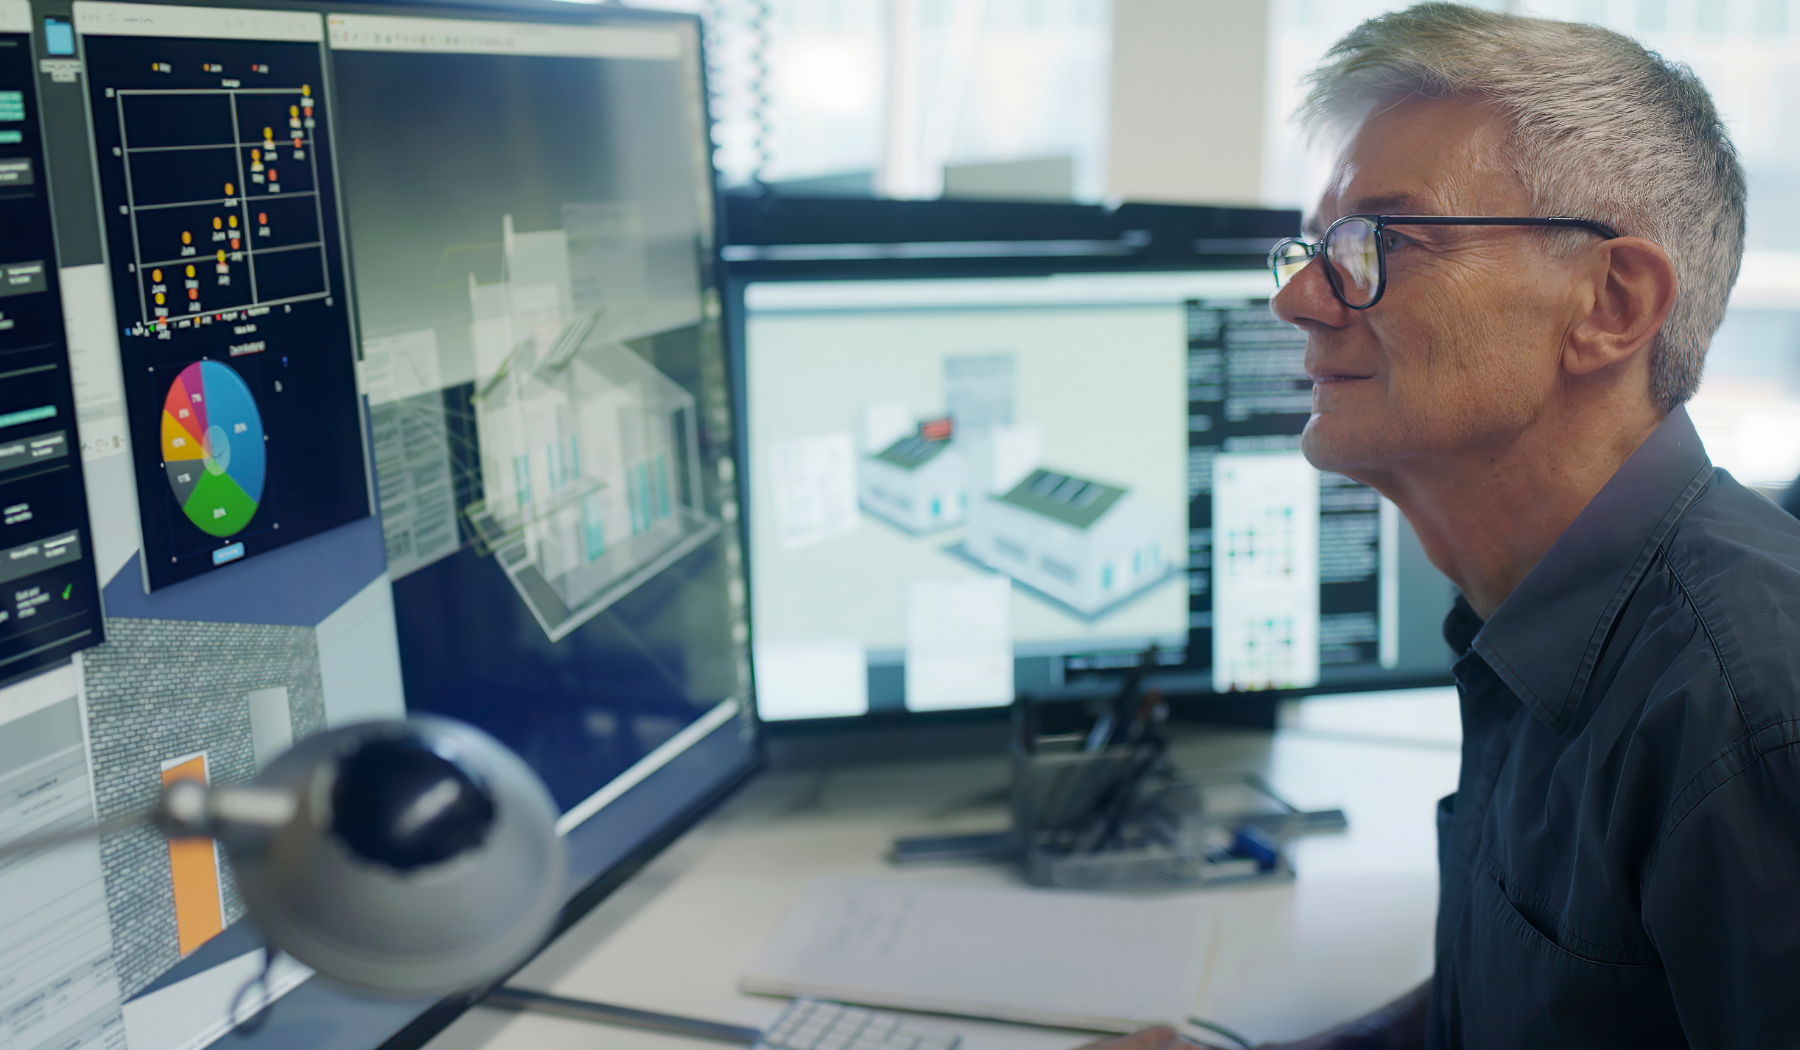
The best design software for CNC production is one that can export to DXF or DWG file formats. These file formats are recognized by most CNC software and can be used to generate the toolpaths needed for production. Programs such as Autodesk’s AutoCAD or Fusion 360 are specifically designed for creating 2D and 3D models for CNC production.
Converting your designs to DWG format can unlock new design possibilities and benefits. You can read more about the benefits of converting to DWG here.

Exporting Your Vector Graphics
Once you’ve created your vector graphics using the right design software, you need to export them to a file format that is recognized by your CNC software. The most common file format for CNC production is DXF. This standard file format can be read by most CNC software.
If your design software does not support exporting to DXF, you can use a third-party software or online converter to convert your designs to DXF. There are many free and paid tools available for this purpose. Some popular choices include DWG DXF Converter and Vector Magic.
Before exporting your designs, you should also ensure that they are properly scaled for CNC production. Your CNC software will generate toolpaths based on the size of your design, so it is important to set the correct scale before exporting your files. You can learn more about converting images to DXF files here.
Choosing the Right CNC Machine and Materials
Choosing the right CNC machine and materials is crucial for precision production. The type of machine and material you choose will depend on the requirements of your design and the end-use of your product.
If you’re working on a small-scale project or a prototype, you may be able to use a desktop CNC machine. These machines are affordable and can be used for a variety of materials, including wood, plastic, and soft metals. If you need to produce larger quantities or work with harder materials, you may need to invest in an industrial CNC machine.
It is also important to choose the right material for your design. Your material choice will affect the durability and appearance of your product. Some common materials used in CNC production include wood, plastics, and metals like aluminum and brass. Depending on your design’s requirements, you may need to use speciality materials like carbon fiber or ceramics.
Setting up and Running Your CNC Machine
Before you begin production, it’s important to properly set up and run your CNC machine. This involves installing the appropriate software, loading your design files, and configuring the machine settings.
Most CNC machines come with proprietary software that is used to generate toolpaths from the design files. This software varies by manufacturer and should be installed according to the manufacturer’s instructions. Once the software is installed, you’ll need to load your design files into the program. This can typically be done by importing DXF or DWG files.
Once your design files are loaded, you’ll need to configure the machine settings such as the cutting speed and tool orientation. Check with the machine manufacturer for recommended settings based on the material you’ll be cutting. It is also important to ensure that the machine is properly calibrated and lubricated before starting production.
For a more detailed guide on converting vector images for CNC production, check out Converting vector images for CAD.
Post-Production Finishing and Quality Control
After production is complete, it’s important to perform post-production finishing and quality control to ensure that the final product meets your specifications.
Post-production finishing can involve sanding, buffing, or applying coatings and finishes to the final product. This will depend on the material used and the desired finished product. It’s important to carefully review your design files and perform test runs to ensure that the finishing process will not compromise the integrity of the design.
To maintain quality control, you should inspect the final product for any defects or inconsistencies. This can include checking the dimensions of the product, examining the surface finish, and inspecting for any voids or deformations. Any issues should be addressed and corrected before moving forward with mass production.
For more information on converting vector images for CNC production, check out Converting vector images for CAD.


What sets this product apart from its competitors is its versatility in working with a wide range of materials. From wood and plastics to metals like aluminum and brass, this CNC machine can handle it all. It even allows for specialty materials like carbon fiber or ceramics, catering to diverse design requirements. The proprietary software ensures seamless generation of toolpaths, while the machine settings can be easily configured for optimal performance. With proper calibration and lubrication, this CNC machine delivers top-notch results.
This product stands out from competitors due to its exceptional versatility in processing various materials. From wood, plastics, to metals like aluminum and brass, this CNC machine excels in handling a wide range of substrates. Furthermore, it offers compatibility with specialty materials such as carbon fiber or ceramics, effectively meeting diverse design needs. The proprietary software guarantees the effortless creation of toolpaths, while the machine’s settings can be effortlessly adjusted for optimal performance. When calibrated and lubricated appropriately, this CNC machine consistently delivers outstanding results.
For importing DXF or DWG files for CNC production, Autodesk AutoCAD is a widely used software. It provides comprehensive tools for designing and configuring machine settings. Another option is SolidWorks, which offers advanced features for 3D modeling and CNC programming. However, both of these software options require a learning curve. If you prefer a user-friendly solution, consider using Vectric VCarve Pro. It offers an intuitive interface and is suitable for small to medium-sized projects. Ultimately, the choice depends on your specific needs and level of expertise.