18 July 2023. Article by Jacob Scott. Estimated time to read critically: 8 minutes.
Understanding the Importation Settings for High-quality Images
Importing images into Autodesk Raster Design can be tricky, but with the right understanding of the importation settings, the process can be a lot smoother. One key setting to pay attention to is the DPI or dots per inch, which determines the resolution of the image. For raster images, a higher DPI means better quality, but it also means a larger file size. Understanding the DPI setting and how it affects the quality of the image can help you make the right adjustments for your project.
Another setting to keep in mind is the color mode, which determines how colors are represented in the image. This is especially important if you need to work with specific color profiles or if you want to print the image. Checking the color mode and making any necessary adjustments can help ensure that the color representation is accurate and consistent across different platforms.
If you are looking for more detailed information on how to import images in Autodesk Raster Design, check out this step-by-step guide on how to import images into LibreCAD which covers many of the same importation settings and techniques.
Optimizing the Image Size and Resolution for Better Results
Optimizing the size and resolution of the image can have a huge impact on the overall quality of the final product. To start, it’s important to understand the difference between file size and image size. File size refers to the amount of space the image takes up on your computer, while image size refers to the physical dimensions of the image. By reducing the file size, you can make the image easier to handle, while keeping the image size intact.
Another way to optimize the image is by adjusting the resolution. A higher resolution can mean better quality, but it can also lead to larger file sizes which can slow down processing time. It’s important to strike a balance between the desired resolution and file size, depending on your specific needs. Some image editing software also has built-in features that can help minimize file size and optimize image resolution, so it’s worth exploring these tools as well.
If you want to learn more about how to optimize image size and resolution for better results, check out this step-by-step guide on efficient image resizing with ImageMagick. This guide covers many of the key concepts and techniques for optimizing image size and resolution and can be applied to various image editing software.
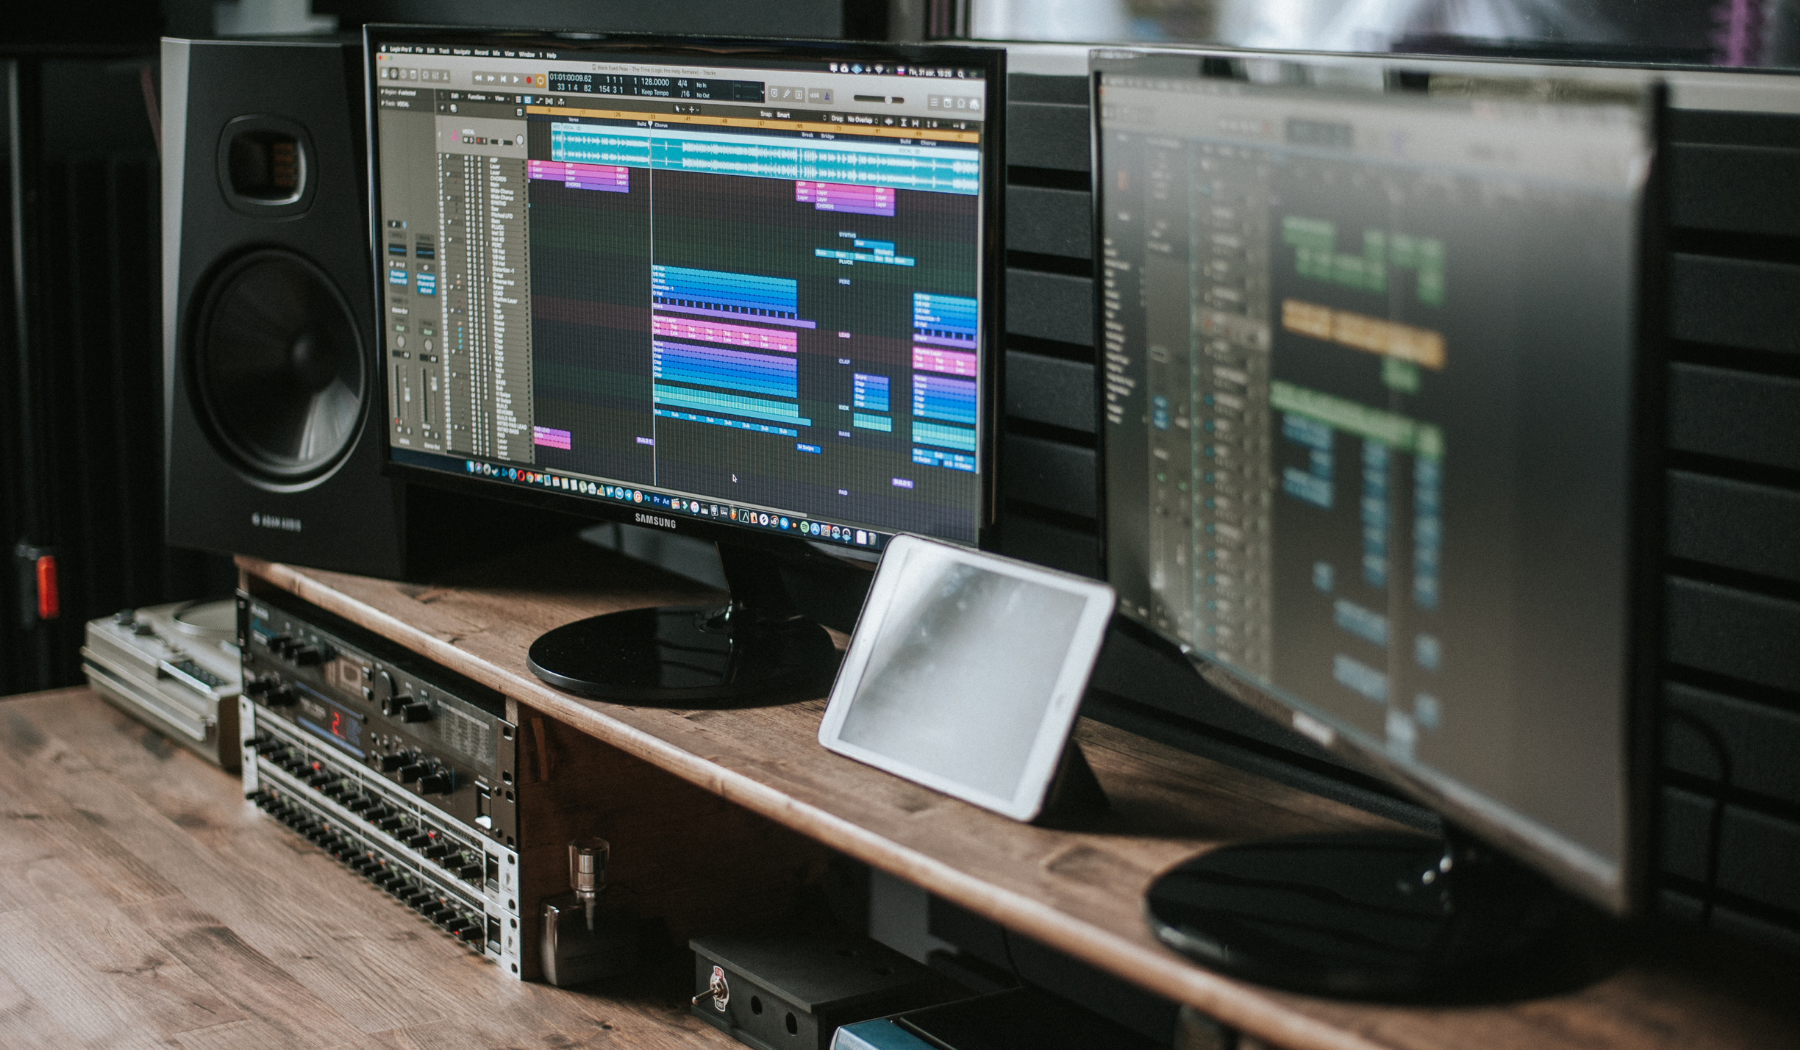
Utilizing Raster Design’s Editing Tools to Enhance Images
Autodesk Raster Design offers a variety of editing tools to help enhance images and bring out their full potential. One popular tool is the Brightness/Contrast adjustment, which allows you to adjust the brightness and contrast levels of the image to make it more vibrant and appealing. This can be especially useful if you are working with images that are too dark or too light.
Another tool that you can use is the Color Correction tool, which allows you to adjust the color balance, saturation, and hue of the image to give it a more artistic or dramatic look. This tool is great for creating specific moods or for working with images that have a specific color profile. Additionally, you can apply filters such as blur, sharpen, and noise reduction to help achieve specific looks in your images.
If you’re interested in learning more about how to use Autodesk Raster Design’s editing tools in your projects, we recommend checking out this informative guide to importing images into Revit. This guide covers many of the same editing tools and techniques that are available in Autodesk Raster Design and can help take your designs to the next level.
Applying Filters and Effects to Achieve Specific Looks
Filters and effects can be powerful tools for transforming the look and feel of your images. One popular filter is the Blur filter, which can be used to create a soft, dreamy look or to simulate depth of field. Another popular filter is the Grayscale filter, which can be used to create a classic or vintage look for your images.
Effects such as Vignette, which adds a dark border to the edges of the image, or Lens Flare, which simulates a lens flare effect, can help give your images a more cinematic or dramatic feel. Additionally, some image editing software allows you to add text, clip art, or other graphic elements to your images, which can be useful for creating posters, flyers, or other promotional materials.
If you want to learn more about how to apply filters and effects to your images, check out this step-by-step guide on applying filters to images in Adobe Photoshop. This guide covers many of the same filters and effects that can be applied in Autodesk Raster Design and can help you achieve specific looks and styles in your designs.

Tips for Selecting the Right Image File Format for Your Project
Choosing the right image file format is an essential step in ensuring the success of your project. Different file formats have different compressions, color depth, transparency, and compatibility features. Consider your project’s requirements before selecting an image file format.
If you need a high-quality image with no compression, then you should use a TIFF or PNG format. TIFF is an industry standard, and it offers lossless compression, making it ideal for printing. PNG supports transparency, making it ideal for web graphics. If you need to work with photographs, then JPEG format is the way to go. JPEG uses lossy compression, but it offers smaller files sizes, making it ideal for web pages and online applications.
For more information on selecting the right image file format, check out this comprehensive guide on how to choose the right image file format in OCR and PDF software.
Learn how to import images into Solid Edge with this comprehensive guide
Common Mistakes to Avoid When Working with Imported Images in Raster Design
Importing images to Raster Design can be a complicated process, which leads to many common mistakes that designers often overlook. Images that are imported incorrectly can cause problems such as pixelation and incorrect scaling. One common mistake that many designers make is importing low-quality images.
Another mistake to avoid is scaling the image incorrectly. When importing an image, ensure that the aspect ratio is maintained so that it is not distorted. Avoid stretching or squashing the image to fit a specific area. The best solution is to crop and resize the image to fit the desired aspect ratio. Finally, make sure that you have a backup copy of the original image so that you can easily start over in case something goes wrong.
If you want to learn more about common mistakes to avoid when working with imported images in Raster Design, check out this guide on common issues when importing raster images, which provides an in-depth overview of the most common mistakes and how to avoid them.