


05 July 2023. Article by Henry Turner. Estimated time to scan: 4 minutes.
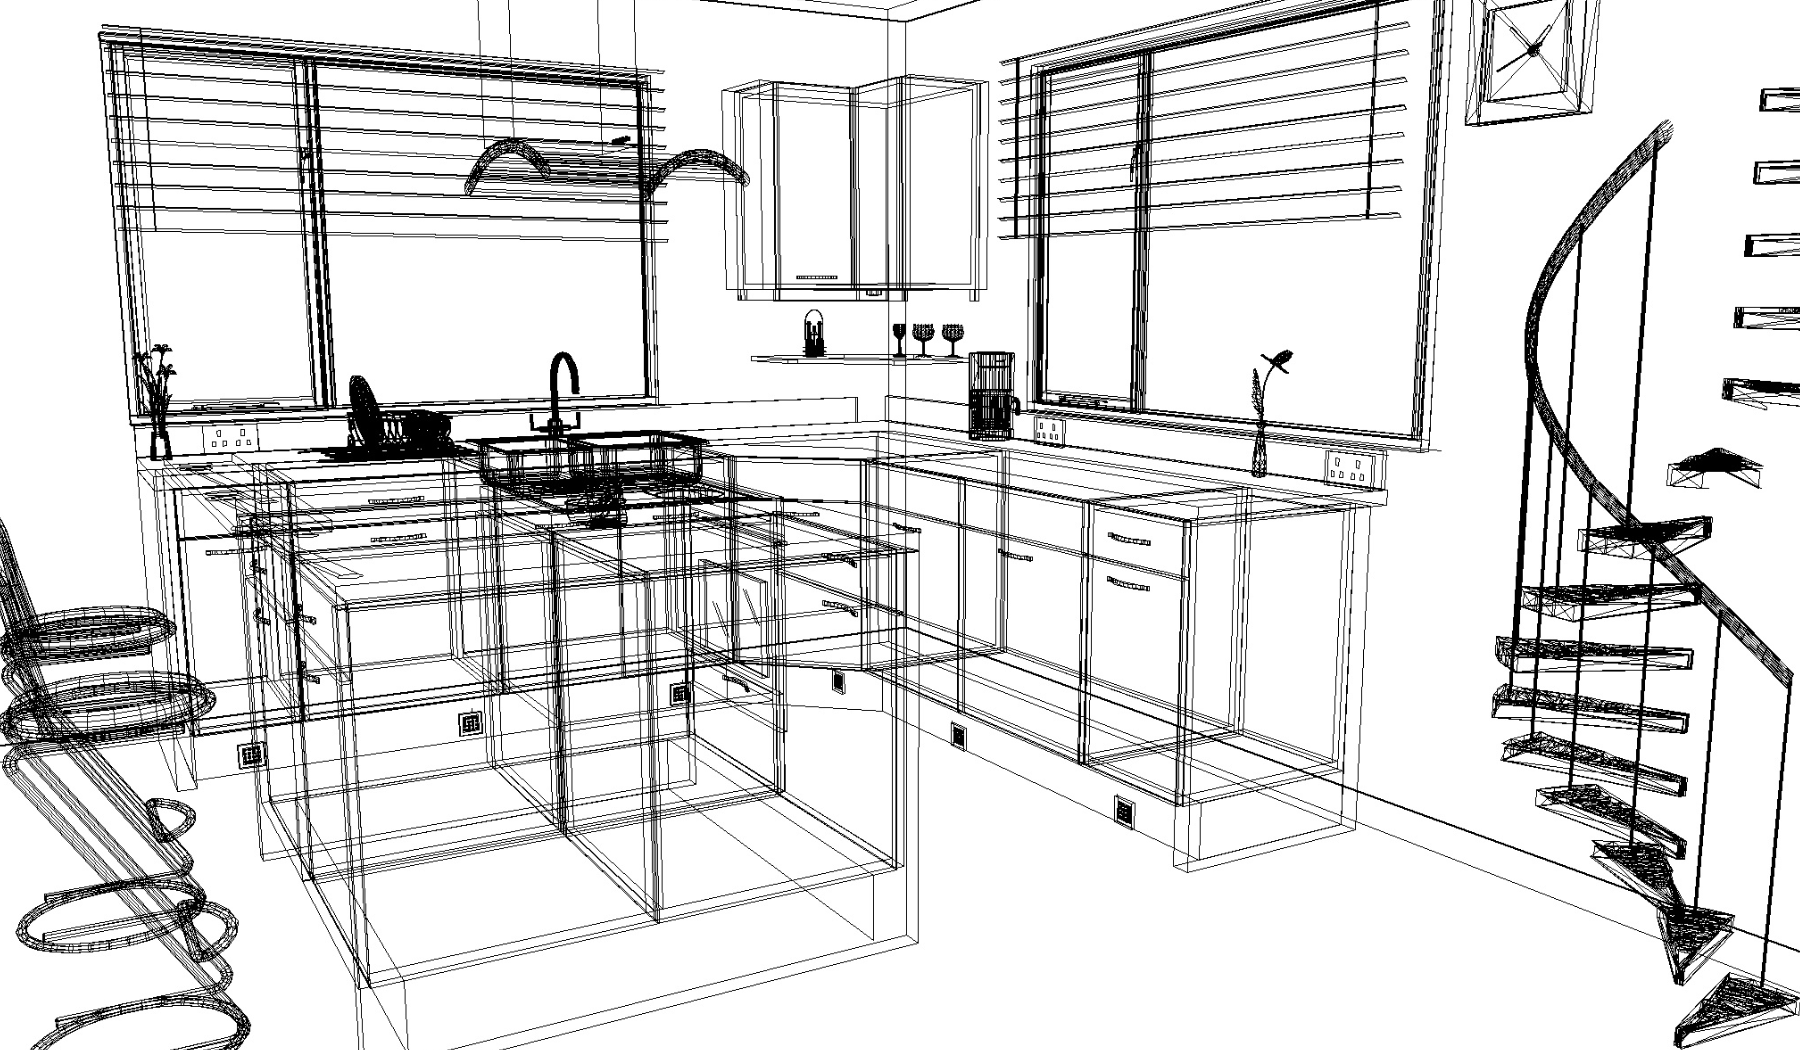
Understanding the Difference between Cit and Dxf/dwg Files
When working with different design software, you may encounter various file formats. Two of the most common are Cit and Dxf/dwg files. Cit files are usually used in land surveying and cartography, while Dxf/dwg files are used in computer-aided design (CAD). The primary difference between these file formats is their purpose. Cit files are used primarily to represent geographic data, while Dxf/dwg files are used to represent 2D and 3D designs.
If you’re looking to convert an image into a DXF file format, it’s important to have a good understanding of the difference between Cit and Dxf/dwg files. This will help you choose the right file format to use for your design needs. You can choose to convert your image to a Cit file format if you’re working with geographic data, or a Dxf/dwg file format if you’re working with CAD designs.
Choosing the Right Image Conversion Software
Converting an image to a DXF file format can be a time-consuming and challenging process, especially if you’re not familiar with the software required to do so. Thankfully, there are many conversion software options available online that can make the process much easier.
One of the best image conversion software options available is Scan2CAD. This software can easily and quickly convert images to DXF and DWG file formats, making it an excellent choice for anyone looking to convert their designs. To learn more about this software and other options available, check out this comprehensive guide to converting your designs with Scan2CAD: How to Convert an Image to DXF — using Scan2CAD.

Importing the Image into the Conversion Software
Now that you have chosen the image conversion software to use, the next step is to import your image into the software. This process varies depending on the software you are using, but the general steps are similar for most image conversion software.
First, open the software and select the “import” or “open” option. From there, choose the image you want to convert and import it into the software. Make sure to select the “DXF” or “DWG” file format as the output format. In some cases, you may need to adjust some settings before you can proceed with the conversion process. These settings can include the image resolution, scale, and other parameters that affect the quality of the final conversion.
If you’re unsure about how to adjust these settings, check out this step-by-step guide to image conversion that provides detailed instructions and screenshots for converting your images to DXF or DWG file formats.
Adjusting Settings for Optimal Results
The quality of your final conversion is highly dependent on the settings that you choose in the image conversion software. To achieve optimal results, it’s important to take a moment to adjust the settings before you begin the conversion process.
One of the most important settings to consider is the image resolution. A higher resolution will result in a more accurate conversion but will also take longer to complete. On the other hand, a lower resolution may result in a faster conversion but will be less accurate.
Additionally, you may need to adjust the scale and other parameters depending on the type of image you are converting. For example, if you are converting a large-scale map, you may need to adjust the scale to ensure that the final conversion accurately reflects the original document’s proportions.
To learn more about adjusting settings for optimal results when converting your images to DXF or DWG file formats, check out this step-by-step guide to image conversion.

Saving the Converted File in Dxf/dwg Format
Now that you have successfully converted your image into a DXF or DWG file, the next step is to save the file. To do this, open the software you used to convert the file and click on ‘Save As’. A new window will appear where you will be prompted to choose the file format you wish to save the file as.
Select the DXF or DWG file format, and save the file to a location on your computer. Remember to include a descriptive file name to make it easy to find in the future. By saving your file in a DXF or DWG format, you can easily open and edit the file in any CAD software, making it easy to create precise and accurate designs.
Tips for Troubleshooting and Common Mistakes to Avoid
Converting an image to a DXF or DWG file format can be a challenging task, especially if you’re not familiar with the software used to do so. To make the process easier, here are some tips to help you troubleshoot common issues and mistakes:
- Ensure that the image you’re converting is of good quality, as the software relies on the image’s clarity to create an accurate DXF or DWG file.
- Double-check your settings before converting the file to make sure you’ve selected the correct file format and settings.
- If you’re having trouble with the conversion process, try using a different image conversion software, such as Scan2CAD.
By following these tips, you can avoid common mistakes and troubleshoot issues that may arise during the conversion process, making it easier to create accurate and precise designs.
If you’re looking for more guidance on converting images to DWG format, check out this guide: How to Convert BMP to DWG. This comprehensive guide provides step-by-step instructions for converting images to DWG format, making it easy to create accurate and precise designs.


The step-by-step guide provided is a helpful resource for users looking to optimize image conversion to DXF or DWG formats. The option to save the converted file in their preferred format ensures compatibility with various CAD software, facilitating seamless design modifications. Remembering to use a descriptive file name aids in future accessibility. Overall, this functionality enhances precision and ease in creating accurate designs.
The step-by-step guide offered is an invaluable resource for users seeking to optimize their image conversion to DXF or DWG formats. The inclusion of an option to save the converted file in their preferred format greatly enhances compatibility with diverse CAD software, thereby promoting effortless design modifications. Additionally, the reminder to employ a descriptive file name enhances future accessibility. In conclusion, this functionality significantly improves precision and simplifies the process of creating precise designs.